
How to Configure Company Overview and Brand Settings
Edited
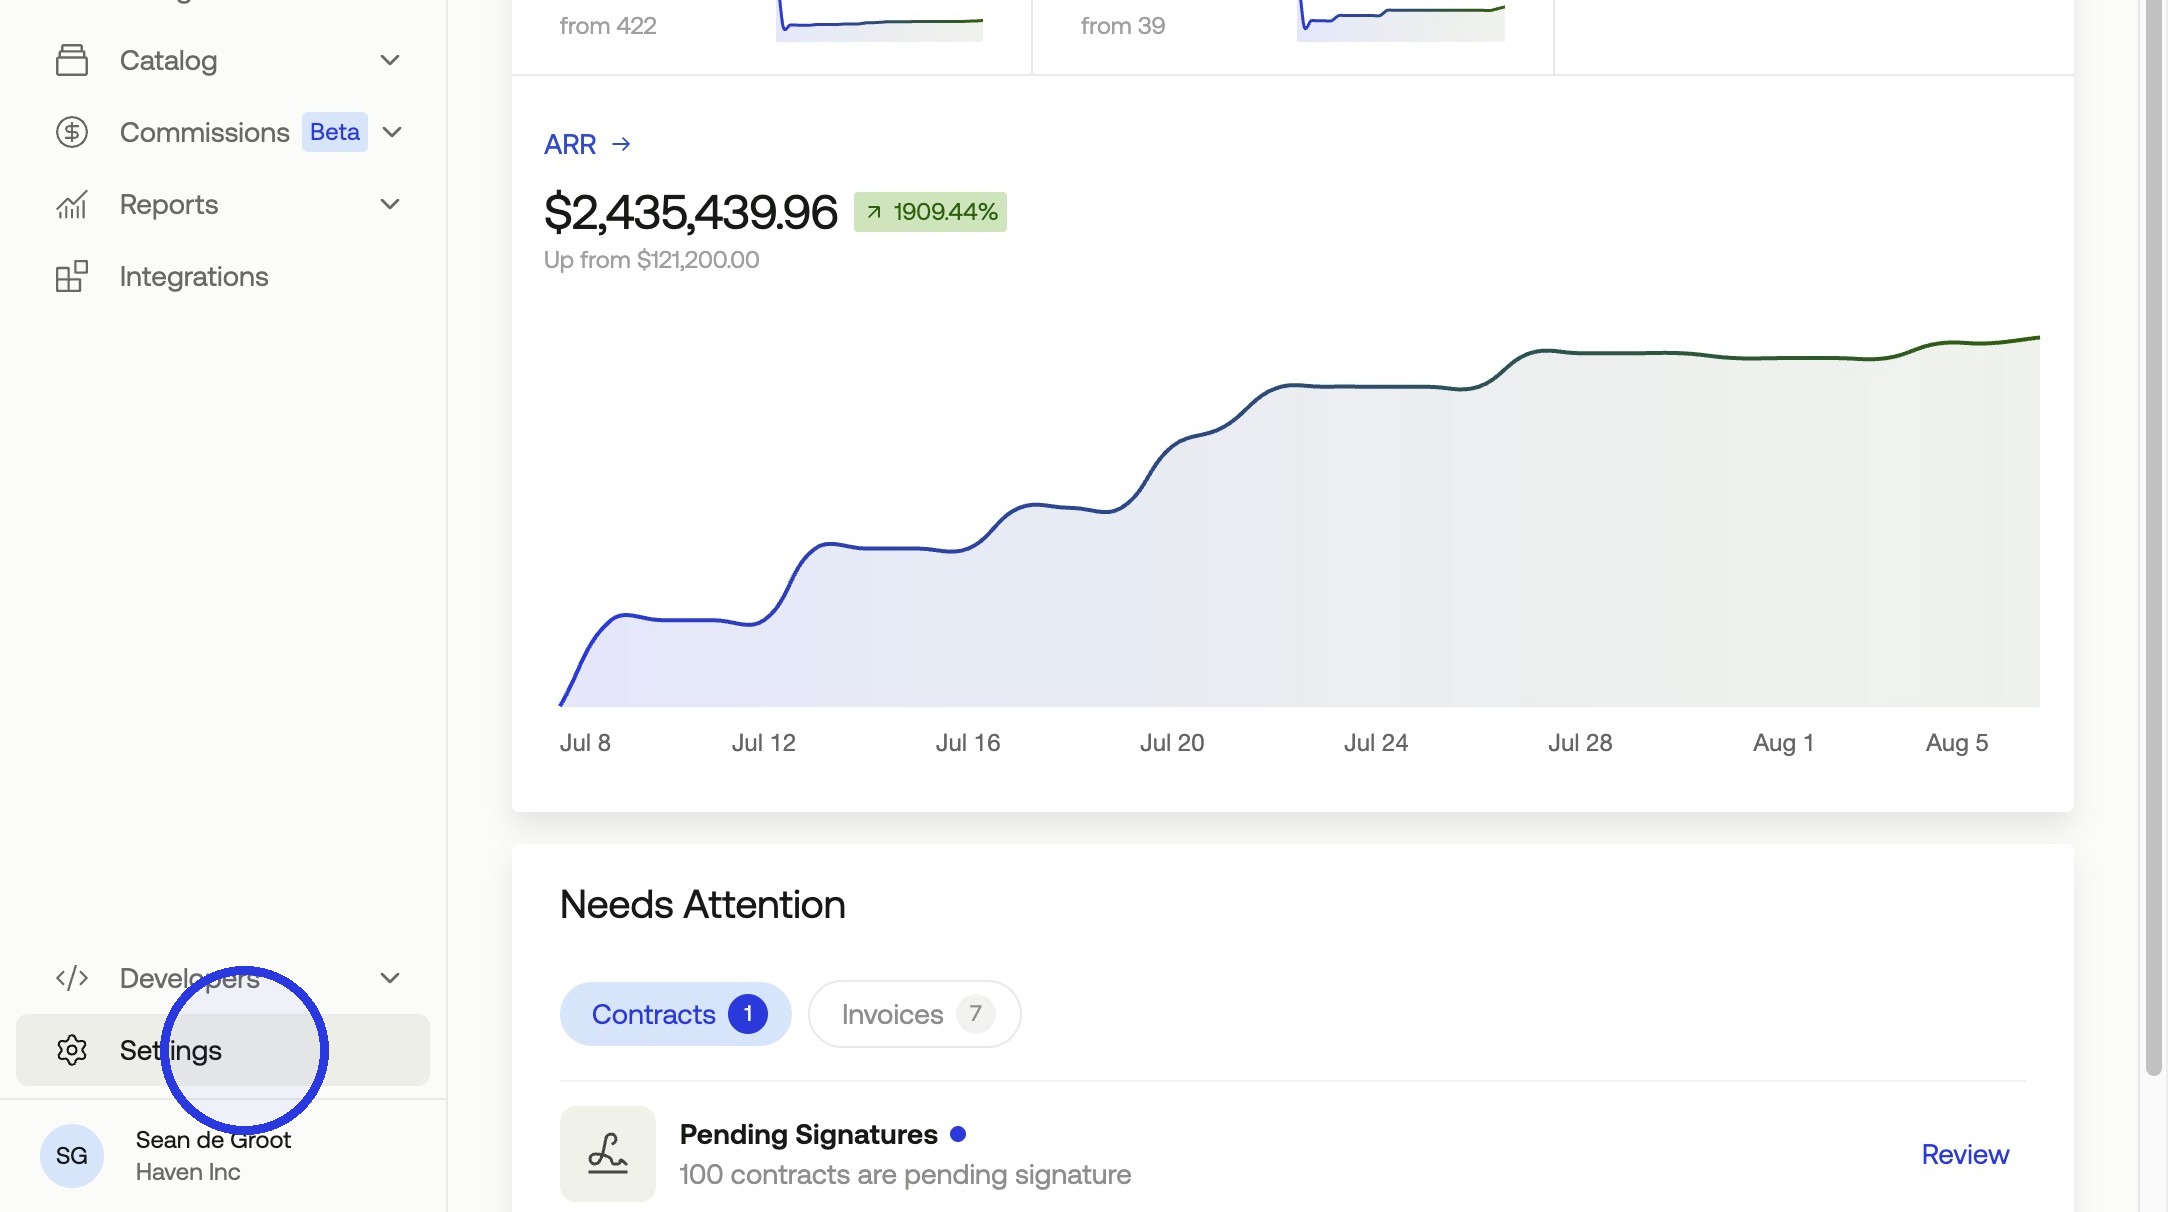
1. Navigate to Settings
In the left navigation bar, click Settings.
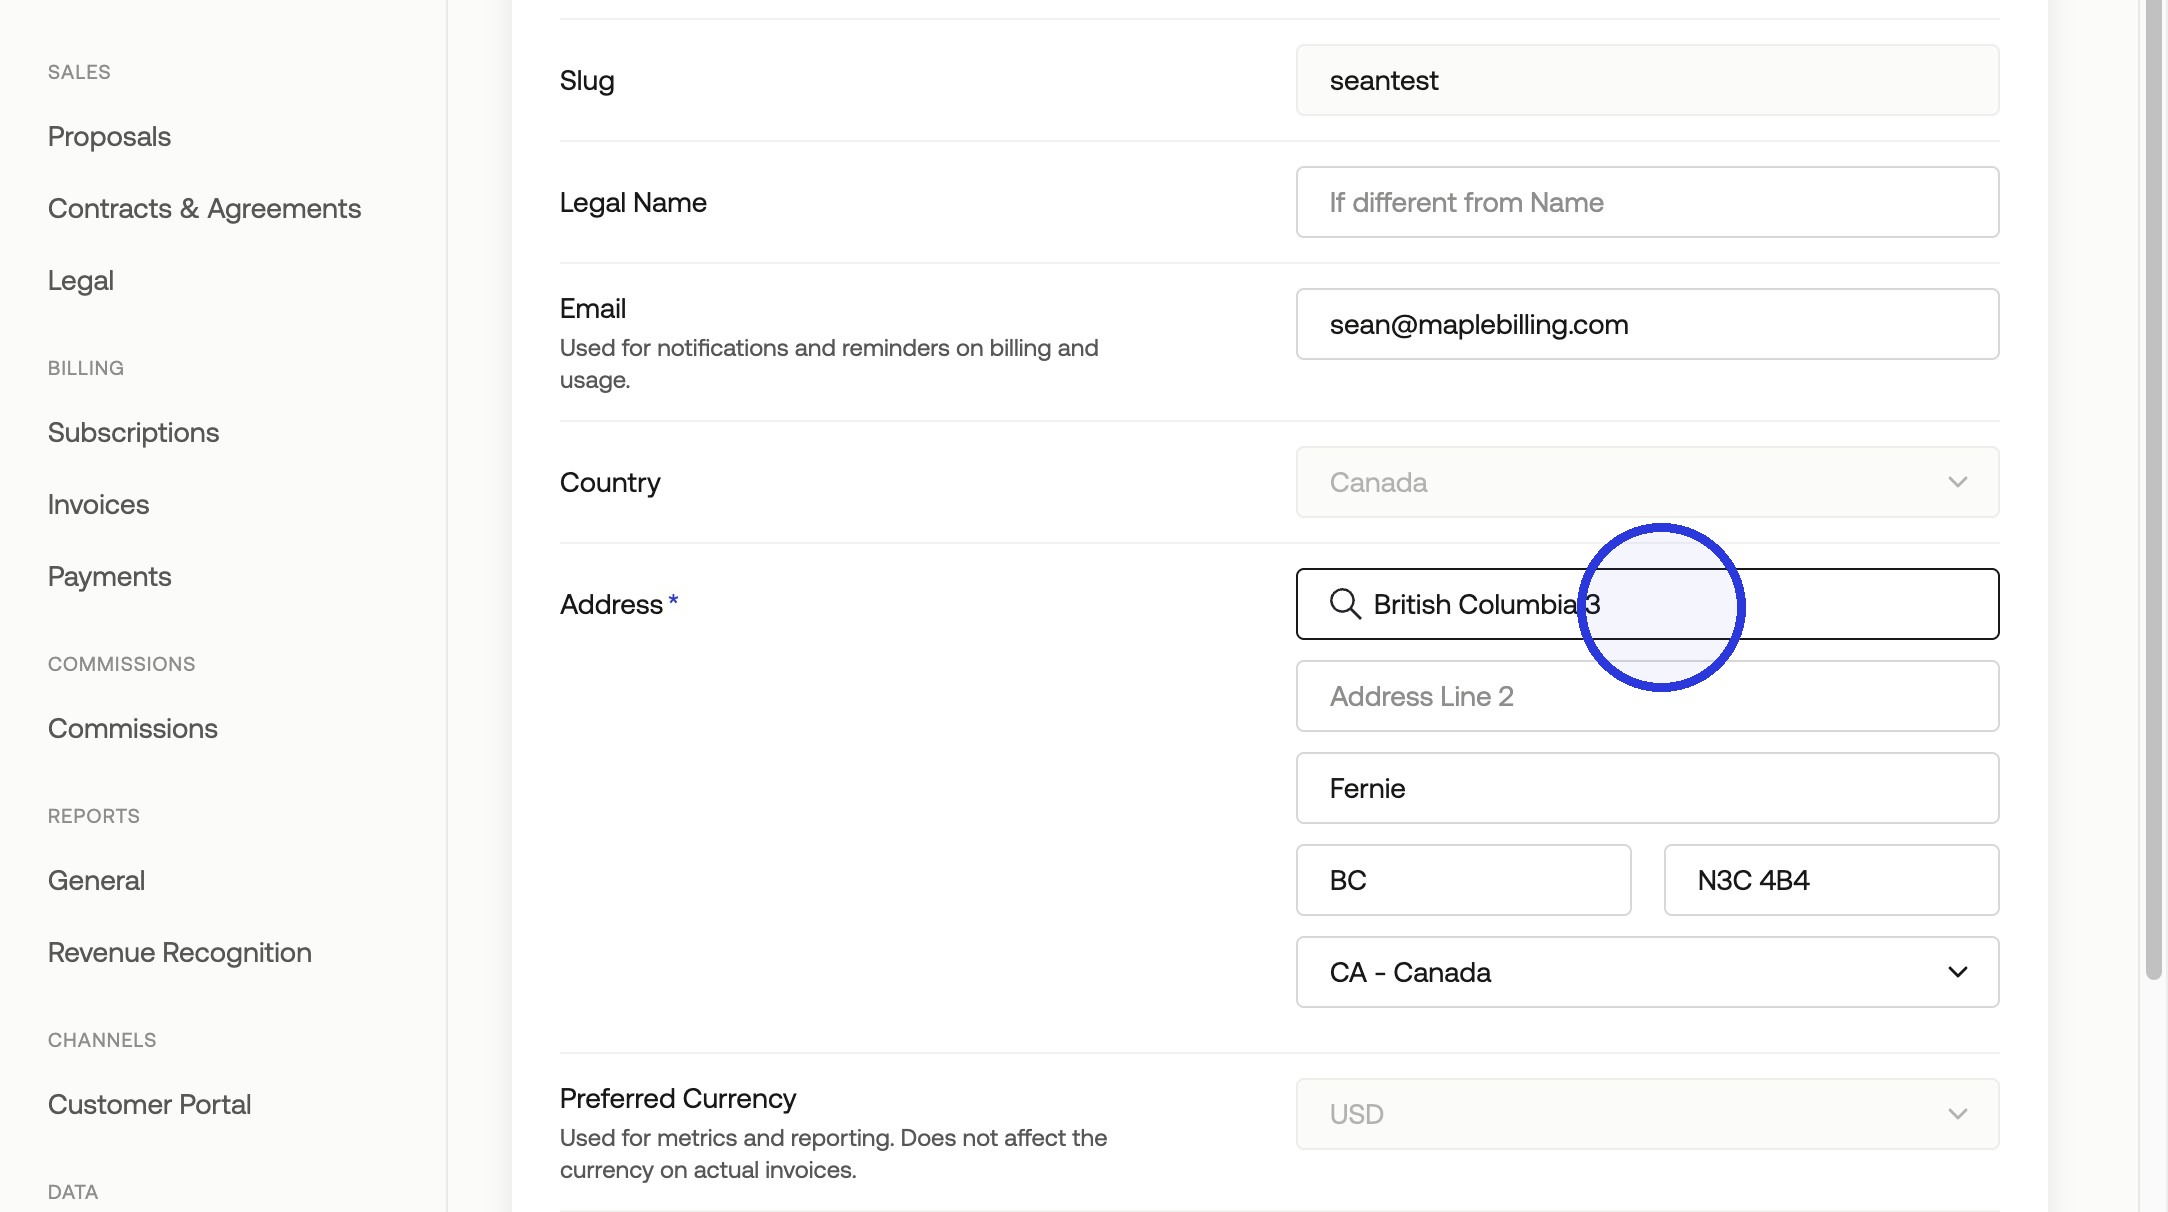
2. Under the General Tab, Update Your Company Address
Under the General tab, fill in your company address fields starting with Address Line 1. Once complete, Click Update to save your changes.
3. Configure Branding
Click the Branding tab. Upload a PNG file as your company logo. It will appear on your invoices, payment links, and checkout sessions.
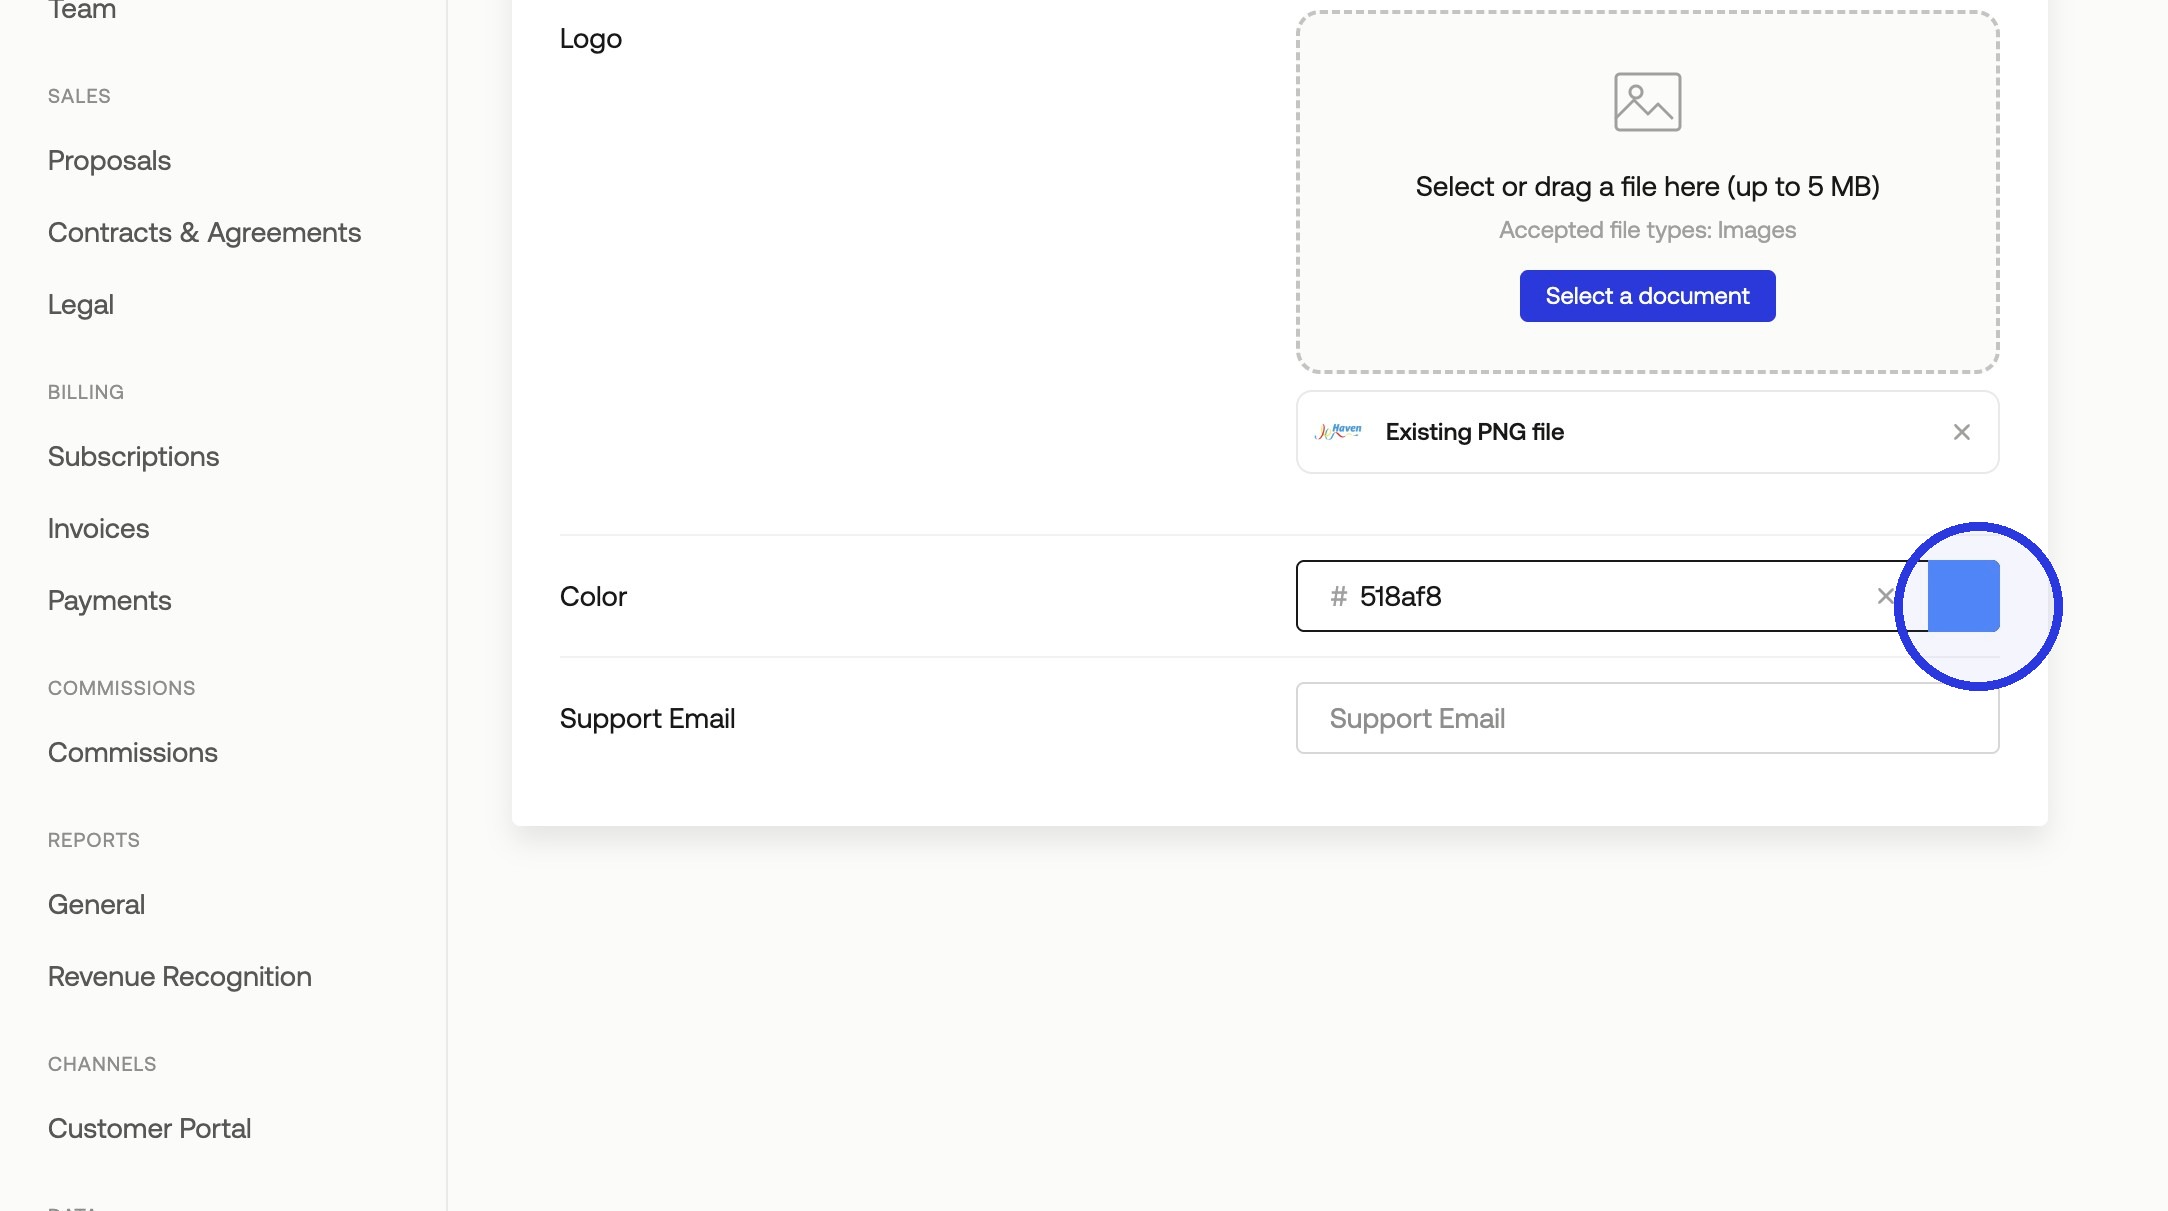
Select a brand color using the color swatch. This color appears in fonts and buttons across customer-facing pages. Click Update to save your changes.
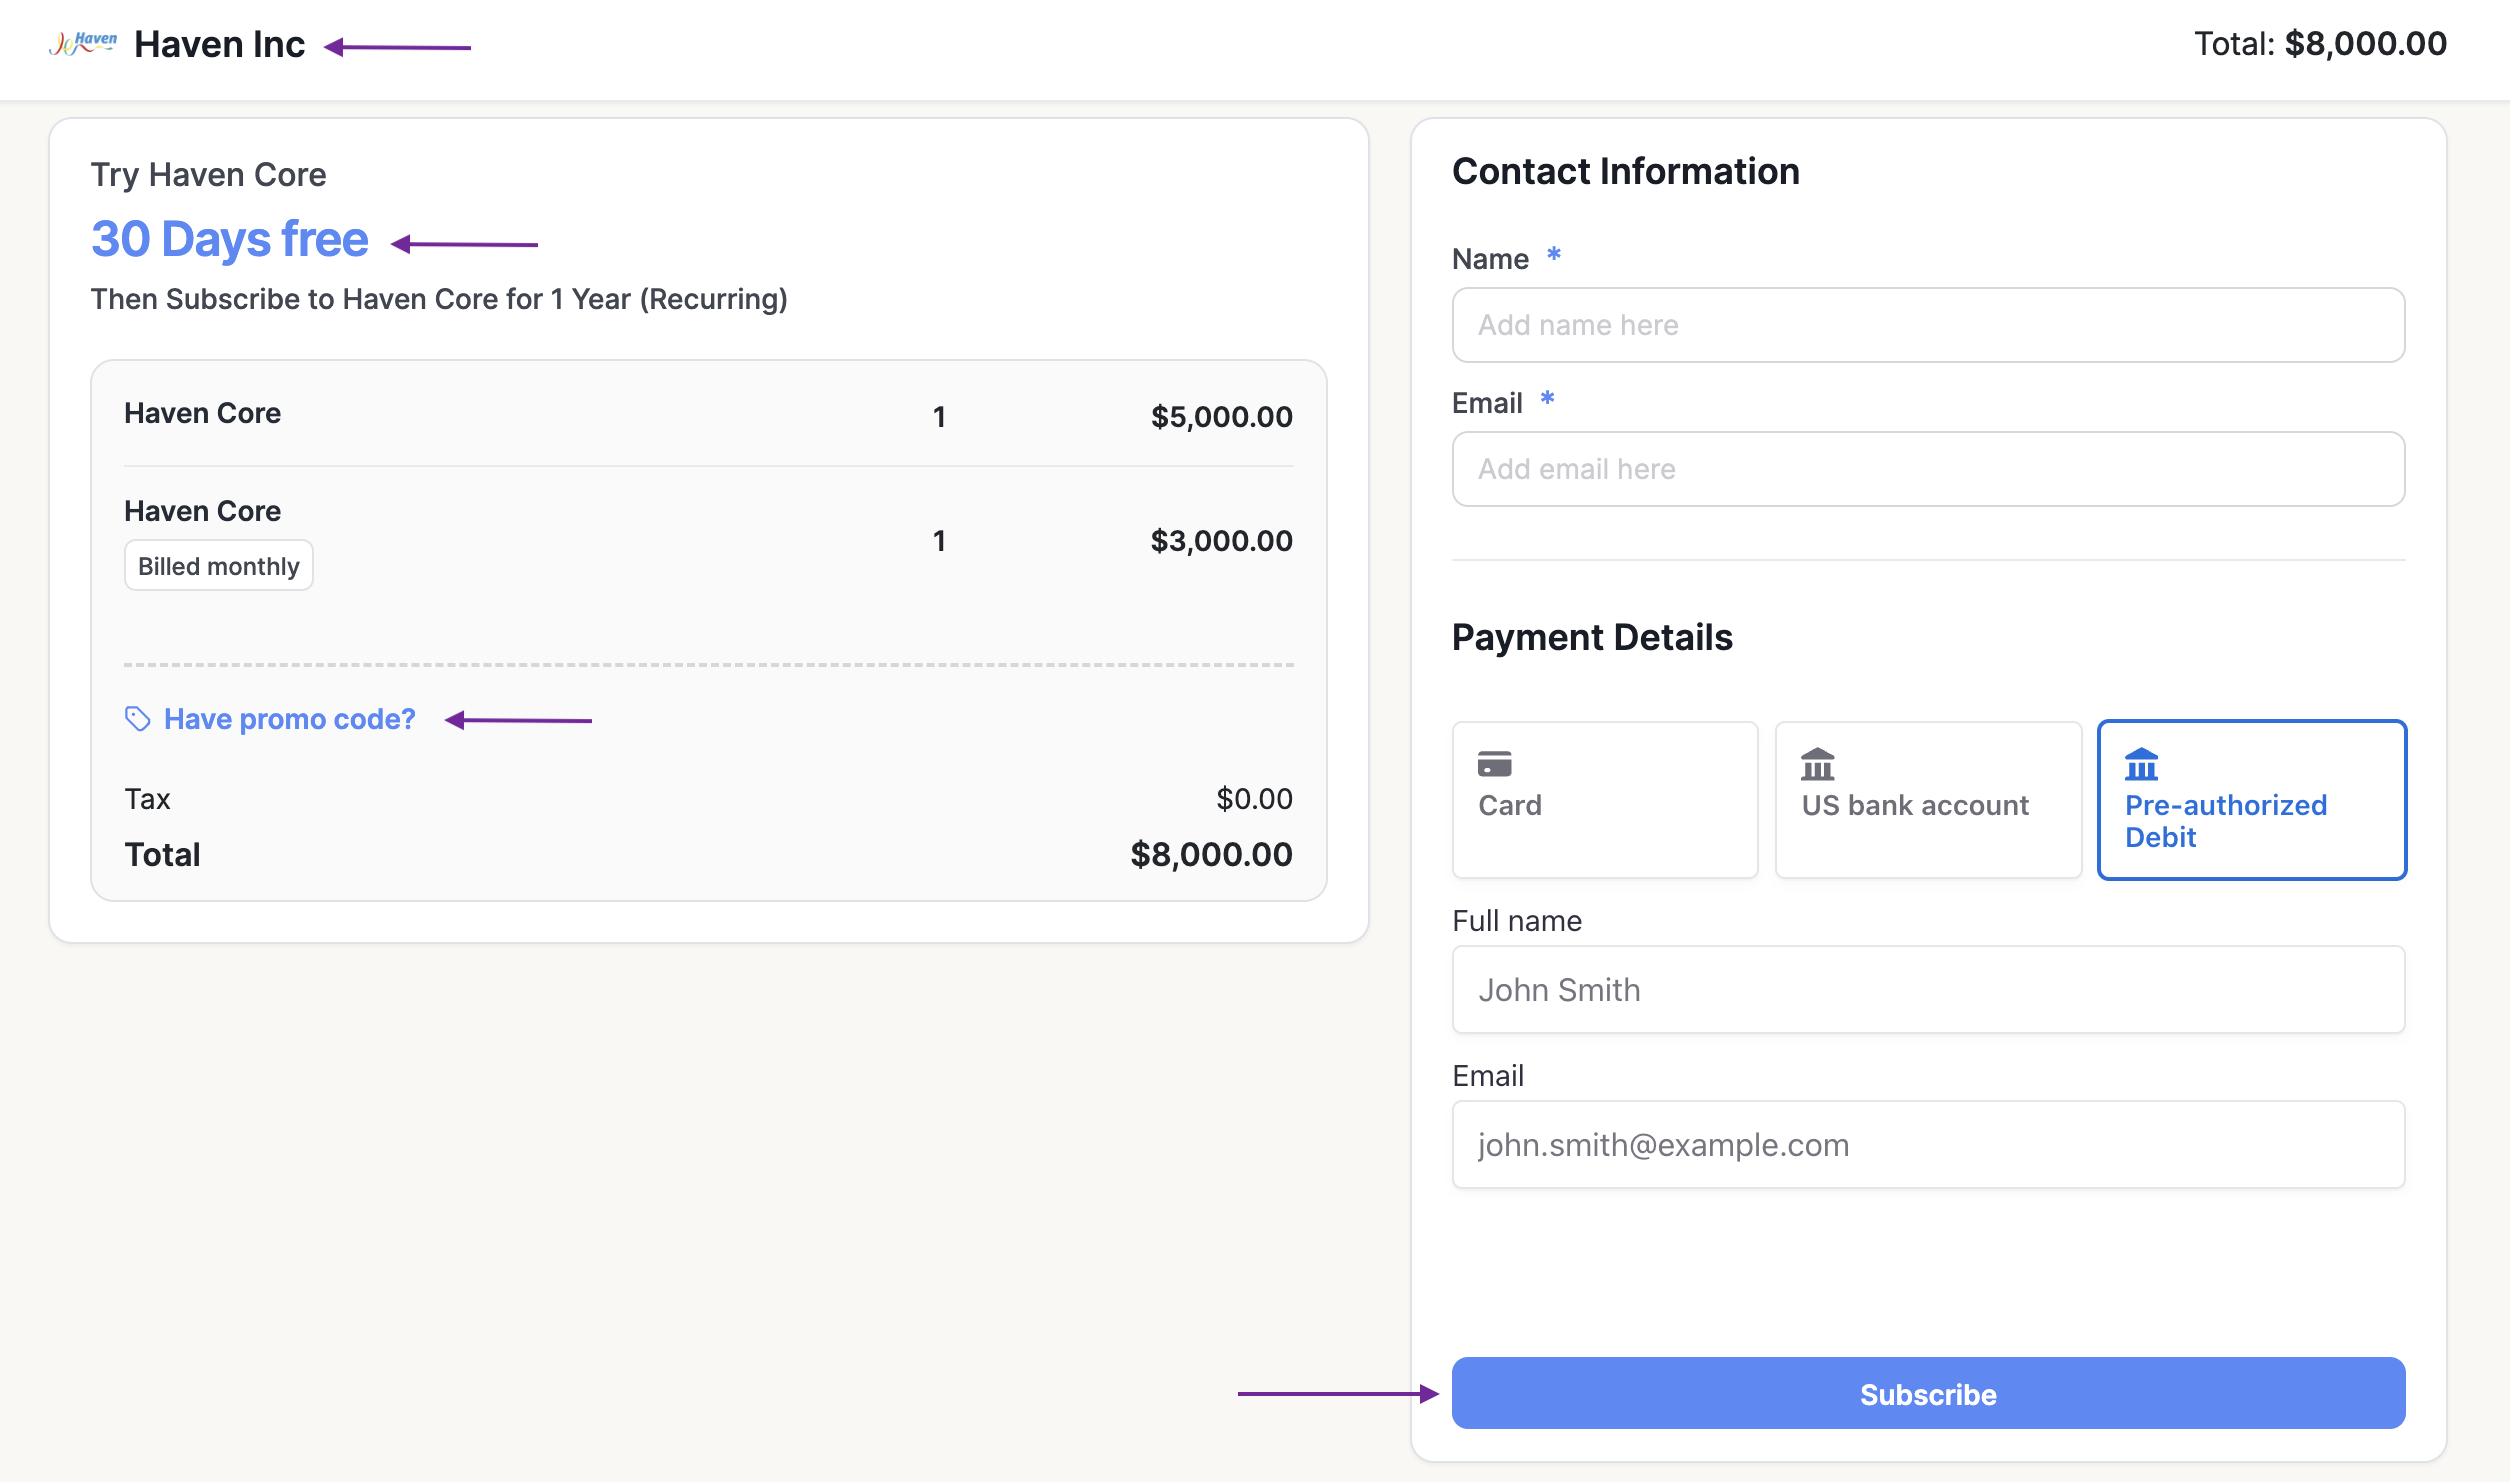
Your brand settings will appear in checkout pages, payment links, customer checkout sessions, email notifications, and your customer portal.
Was this article helpful?
Sorry about that! Care to tell us more?